How to install porcelain tile on concrete วันที่ 26/11/2014 01:18:22 AM ,ผู้เข้าชม : 3103
How to install porcelain tile on concrete

Ceramic and porcelain tiles are installed in a similar way, although porcelain has some key differences. Porcelain tiles are made of sand, fired using high temperatures. These tiles are more water, more resistant than ceramic and they are stronger, more durable. Installing porcelain tile on a concrete floor requires planning and preparation. This will give you a durable and nice looking tile floor. Porcelain tile comes in a wide range of colors and sizes. You can choose from a variety of amazing colors.
Laying a porcelain tile floor considered is a fearful task, but adequate planning and preparation can reduce this fear. Laying one’s own tile is less expensive than having it professionally installed. Cost can be minimized by careful planning and preparation.
You need the following things for installation:
ü Porcelain tile
ü Tape measure Bucket
ü Grout
ü Grout Float
ü Adhesive
ü Tile Spacers
ü Wet saw
ü Sponge Water
ü Chalk Line
Installation process of porcelain tile on concrete requires the following:
1. Levelling:
The concrete floor you wish to cover should be leveled and cleaned. There should be no defects. If any defects are found patch or level these areas with a floor -leveling compound.
2. Measuring:
You need to count how many tiles you will need after measuring the dimensions of your floor.
3. Finding the center point:
In the middle of the floor draw lines in both directions to find the center point of the room. This will divide your floor into quadrants. If the room is not perfectly "squared" do not factor this space into your measurement, factoring this space into your measurements will affect finding the "center" of the room.
4. Planning the layout:
Plan the tile layout by dry-laying the tiles on the ground. Begin within the center of the ground. Use spacers in between the tiles to account for concrete grouting. The best area between every tile is 1/16- inch.
5. Using a diamond hole saw:
To cut a square hole in the center of the tile use a wet-tile saw if you don't have a diamond hole saw. On the back of the tile draw a square in the desired location of the hole. Carefully place the rear aspect of the tile against the wet-saw blade at the middle point of 1 of the perimeters of the square. Gently push the tile against the blade to the boarder of the sq. is cut. Repeat for the opposite sides of the sq. hole.
6. Beginning of installation:
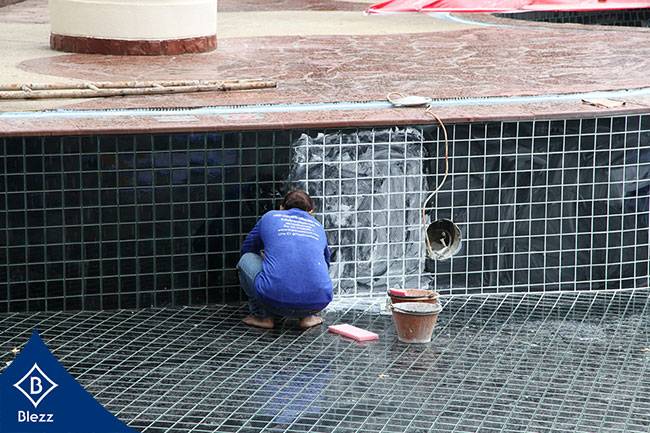
When you have decided to begin the installation, apply some glue to the floor with a trowel. Then you need to spread it out with trowel. . Take one of the ceramic ware, tiles and press it down into the glue. Then place tile spacers on the corners of the tile so you'll guide the spacing between it and then the next tile. Take another tile and press it down into the adhesive directly up against the tile spacers from the primary tile. Then place tile spacers round the second tile and continue during this manner till you get to the wall.The ceramic ware, tiles and press it down into the adhesive. Then place tile spacers on the corners of the tile so you'll guide the spacing between it and therefore the next tile. Take another tile and press it down into the adhesive directly up against the tile spacers from the primary tile. Then place tile spacers round the second tile and continue during this manner till you get to the wall.
7. Cutting to Fit
When you get to a wall, you need to cut the tile in order to fit it. Take your tape measure and validate the accurate size of tile that you need. Then make a mark on the back of the tile with a wax pencil or a marker. Here you should use your wet saw to make the cut on the tile. Then you can put the cut piece onto the floor. You need to allow it to set up overnight.
8. Applying thin set:
Pour water and keep it to be set in a bucket. Mix it nicely uses a mixer attachment on a power drill will make this easier.
9. Grouting:
You can then apply the grout and make sure the mixer is not so runny. Pour the mixture to the grout joints in between the tile. It's important that grout joints are full of grout. To prevent the grout from drying you should work in 6 foot square area. At last clean up the excess grout with a damp sponge.
Porcelain tile can be used in different applications and can give you a gorgeous floor. It's extremely durable with a little bit of work. Some basic steps of installing porcelain tile on concrete are discussed here.
| 


