How to Lay Floor Tiles วันที่ 18/12/2014 10:30:48 AM ,ผู้เข้าชม : 2588
How to Lay Floor Tiles
Knowing how to fix the tiles on the floors is beneficial. It will help the home owner to save on the expenditure because there will be no need of hiring an expert. The process is easy and friendly to beginners. The stages are easy to understand and the customer will get the instructions clearly. The following is a simple outline on how to lay the floor tiles in the house.
Step 1 Mind your safety
It is important to wear gloves that have a hard material s to protect the hands from getting injured. Removing the old tiles from the floor can harm the skin, therefore, one need to put on gloves. Also, dust particles usually cause irritation in the eyes. For this reason, one should wear goggles and mouth masks to protect the parts from dust particles. As the client prepares the surfaces for tiles, they will be secure from physical harm.
Step 2 Assemble all the needed tools
Before you begin the work, ensure that all the needed tools are present. Ask from the experts on the efficient tools to have so to work. Working on the floor will be easy when all the instruments are available.
Step 3 Prepare the floor
Get rid of the old tiles. Clean the surfaces and remove all the debris that could have been left behind. This is because the debris will prevent one from achieving a uniform floor. If the floor is not uniform, use the necessary tool to level it. Clean the floor with water and leave it to dry completely especially when it is a concrete floor. Concrete provides a firm base for placing the tiles because it is compact.
In this step, measure the length and the width of the floor. Calculate the area of the surface and project the area to the number of tiles needed. Buy the tiles at once and store them in the house so to reduce the time wastage of going back to the shop to get others. Ensure you buy the pattern and style of preference.
Step 4 placing the first tile
This is a very important tile and it is mostly referred to as key tile. This is because it is the one that determines the placement of all other tiles. This first tile is usually laid at the center of the room. Thus, one needs to get the exact center of the room by drawing diagonals on the floor. Where they will intersect will be the center of the room. Place the tiles when they are dry from the center towards the wall. Make the necessary adjustments on the center tile until when one will get a straight line.
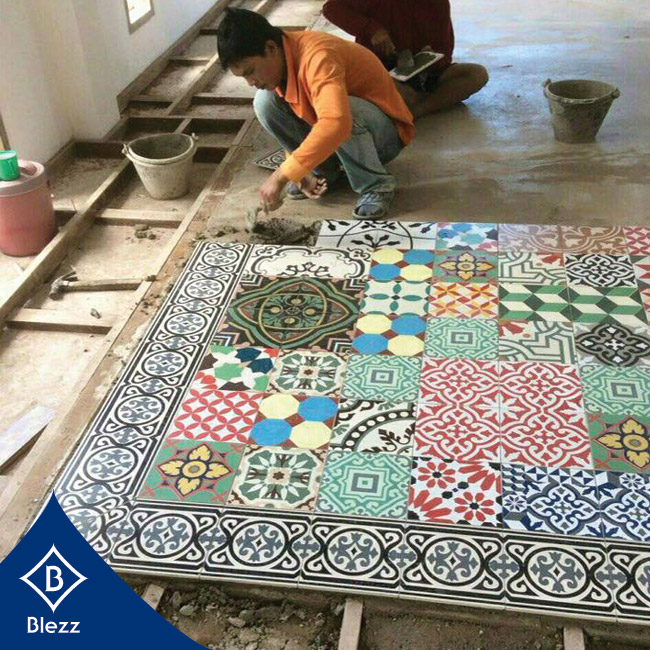
Step 5 fixing the tiles
After getting the exact center of the room, begin fixing the tiles. Fix them systematically leaving the exit area. It is because the tiles should be left for about 24 hours before stepping on them. This period gives room for the tiles to be permanently held on the floor. It is advisable to use spacers for the tiles so to achieve a uniform look at the end of the placement. The tile spacers are of several sizes so the customer should buy the desired size. Do not forget to put grout layer before placing the tiles so that they can stick firmly. Use a spreader to achieve a uniform layer.
Step 6 cut the edge tiles
As the laying approaches the wall, small spaces are left that need the tiles to be trimmed. Measure the spaces left and adjust the cutter to the required length and width. Ensure that the cutter has sharp blades so to get accurate cuts. Mark the tile measure with a pencil that will be easy to rub. After cutting, apply the adhesive layer on the bottom of the tiles and fix them on the spaces. Ensure there is consistency of the space length so to make the floor finishing uniform.
Step 7 grout the tiles
After finishing the laying of the tiles, you need to grout the tiles. Take the grout and mix it with a suitable amount of water to make a paste. Spread the grout uniformly on the tiles and fix more on the tile spaces. Do it carefully, too much pressure may alter the placement of the tile. After grouting, clean the surfaces to remove the grout that is on the tiles. Leave it to dry and then wipe the surfaces again with a moist cloth. Allow the tiles to be compact and to dry completely before stepping on the floor. | 


