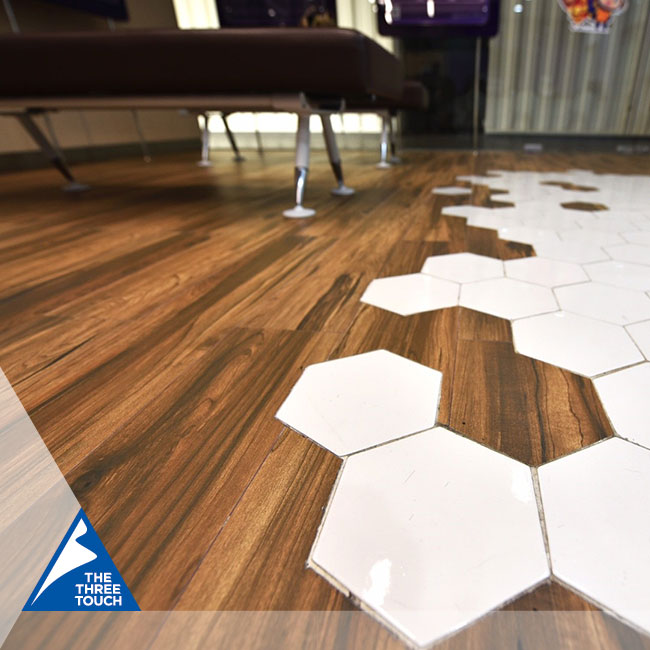
How to Install Ceramic Floor Tiles วันที่ 20/12/2014 00:09:16 AM ,ผู้เข้าชม : 2086
How to Install Ceramic Floor Tiles

The first and most important thing is to create the plan to place the tiles on your floor; if you don’t do this there is a high possibility that your room floor will have different shapes of tiles. So you must complete the floor plan by drawing the room walls on the grid paper sheet or any other sheet if the grid paper is not available. Be vigilant about the placement of doors, cabinets and other things in the room which will disturb the overall process of laying tiles properly. Keep this in mind that the floor should be good enough to support tiles, mortar, grout and other home appliances when the job is finished.
Tools needed:
- · Tape measure
- Framing square
- · Chalk line
- · Grid (graph) paper
- · Safety glasses
- · Rubber gloves
- · Buckets
- · Drill and mixing paddle
- · Spray bottle
- · Tile trowel
- · Rubber mallet
- · Sponges
- · Abrasive stone
- · Manual tile cutter
- · Wet tile saw
- · Tile nipper
- · Grout float
- · Cheesecloth
Materials needed:
- · Tile
- · Tile spacers
- · Water
- · Thin-set mortar
- · Grout
- · Film remover
- · Grout sealer
- · Stain Blocker for grout
- · Paper towels for cleaning
Procedure for Installing Ceramic Floor tiles:
1. Floor Plan for Tile layout
You must make sure that the floor, on which you are laying tiles, is appropriate for tile installation. Otherwise the whole purpose of tile installation will come apart.
To make the floor plan layout, first find the center of floor of the room. To do this, measure the four walls in the room and find their midpoints, and then snap two chalk lines in which one is from the midpoints of two opposite walls and another from the midpoints of the other two walls. They both will then intersect to give the center point of the floor.
2. Check your floor layout
For this step, lay down the single row of the tiles without mortar, starting from the center point of the floor and going in outward direction in both the sides of center point. Do not pull the tiles from a same box. Pull the tiles out of the different boxes and mix them so that the differences in the tiles won’t be noticeable. Be aware that the some tiles have direction in the form of arrows on the backside of tiles. When
Follow the instructions available on the package of cement/bonding agent to prepare your thin-set mortar. Use your bucket and mixing paddles. Clean the paddles properly to avoid hardening of mortar on it. Let you lay down the tiles the arrows should be pointing in the same direction so that the pattern is properly aligned and it does not look bad.
3. Ensure Safety measurements
You should be wearing proper rubber gloves and safety glasses when you apply mortar. If possible, arrange some knee pads like those used in skating. These knee pads will save your knees from dirt and mortar. They also help to evenly distribute the weight of the body.
4. Mix your Thin-set mortar
the mortar stand for 5-10 minutes after mixing, do not use it immediately. It is called Slake Time. It allows the mixture components to be fully activated.
Always mix up a bucket of thin-set mortar applicable for the type of tile being used. Discuss it with the store owner to ensure that you buy the right mortar for the tiles you have chosen.
5. Applying thin-set mortar
Use the trowel to take out mortar needed for the tile. Start from one quadrant of the center point you marked. Spread the mortar using flat side of the trowel on the backer board; now press it on the backer board at estimated 45 degrees angle.
6. Laying the tiles
At first only apply the mortar for one or two tiles at one time. Now follow the chalk lines as in the grid paper, placing tiles in a straight line.
7. Keep tiles leveled and clean
After placing the tiles, slightly tap the tile using rubber mallet. It will level the tile and spread the mortar evenly. Use the sponge to clean the extra mortar that ends on the top of tiles. If it dries, then it is hard to remove it from the tiles.
8. Finish laying the tiles
Follow the above steps properly and you will finish the first quadrant of tiles. Keep doing the same for the remaining three quadrants of the floor to completely cover the floor. Now the space around the walls will require cutting the tiles.
9. Measuring and cutting the Tiles
Measure the space left carefully and cut the tiles accordingly.
10. Mix Grout
Ask the store associate to buy the right grout for your tiles. Follow the instructions on the package carefully to prepare grout mixture. Allow it to settle down for 5-10 minutes.
11. Spreading grout mixture
Now start spreading the grout on the tiles using grout float. Spread it using the same procedure followed for mortar.
12. Cleaning excess grout
Use the sponge to clean excess grout from the tiles.
13. Sealing the grout
Grout sealer gives invisible protection to the grout. Sealing helps to keep grout look new and clean. If the tile is not glazed tile, then be careful to only seal the grout not the tile. | 
